|
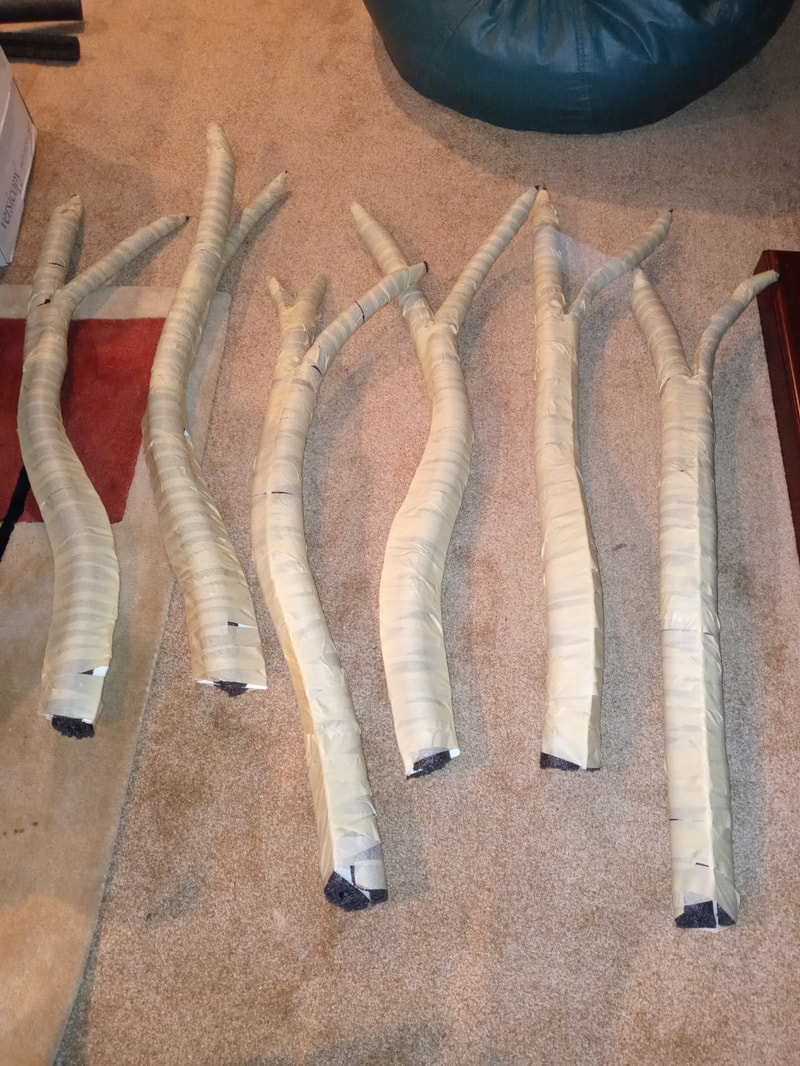
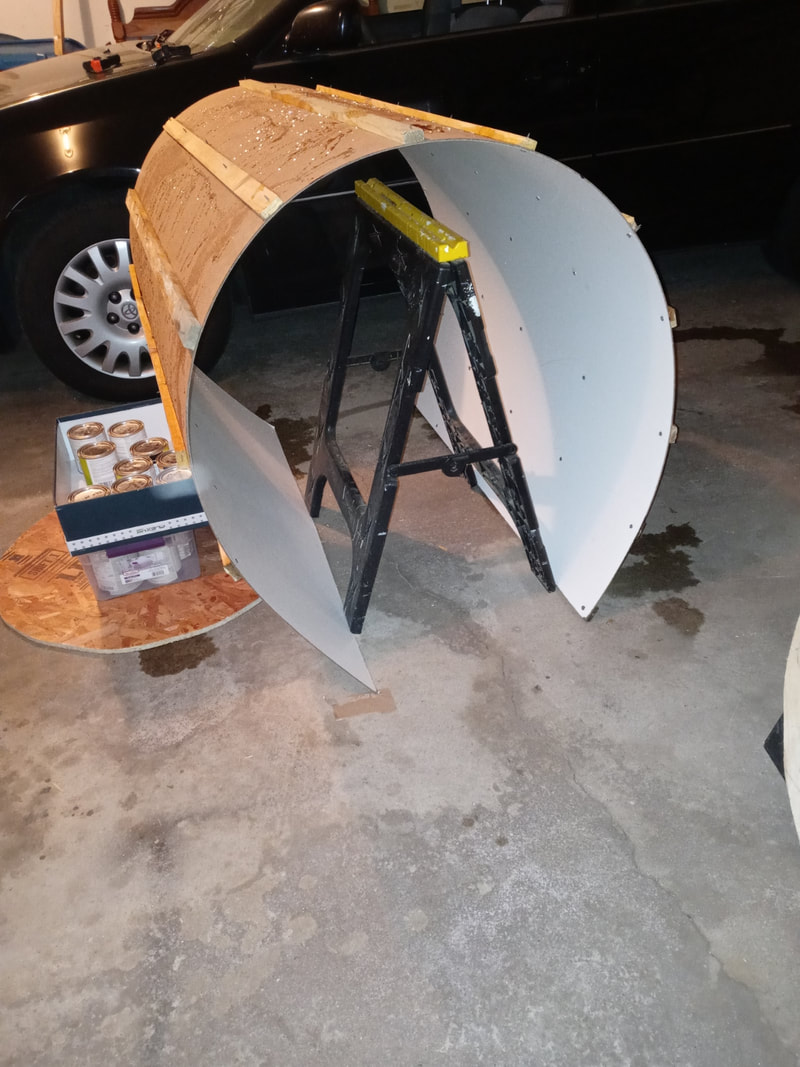
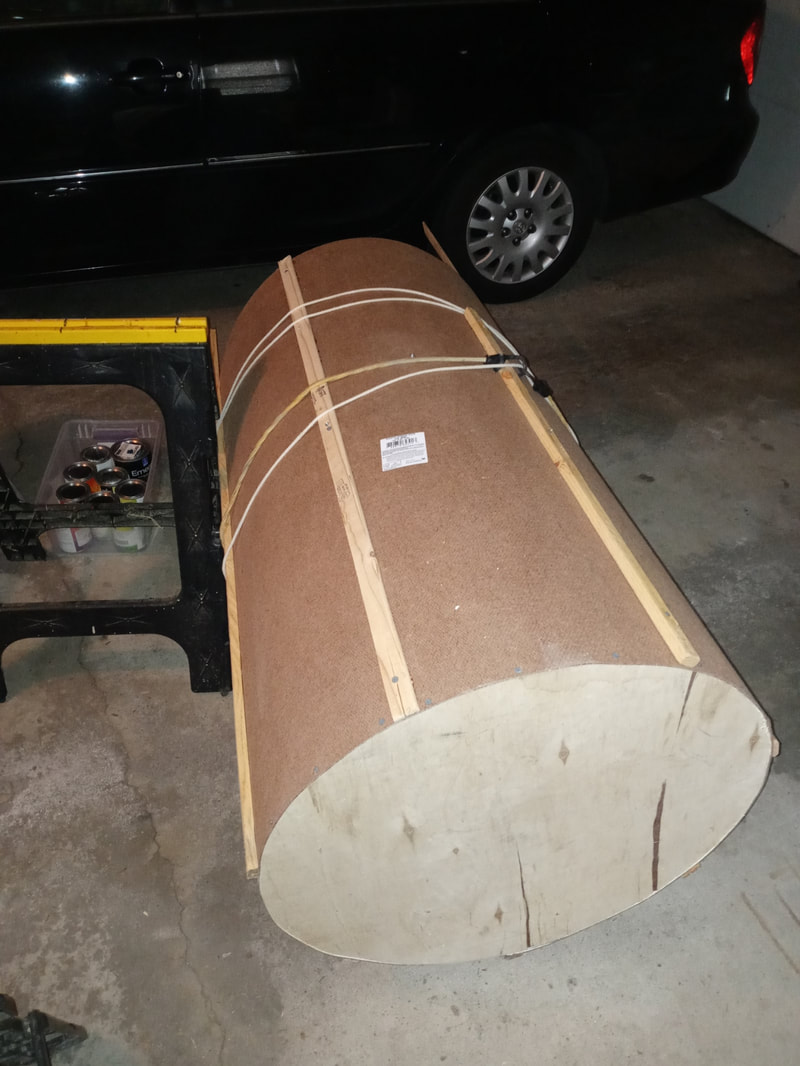
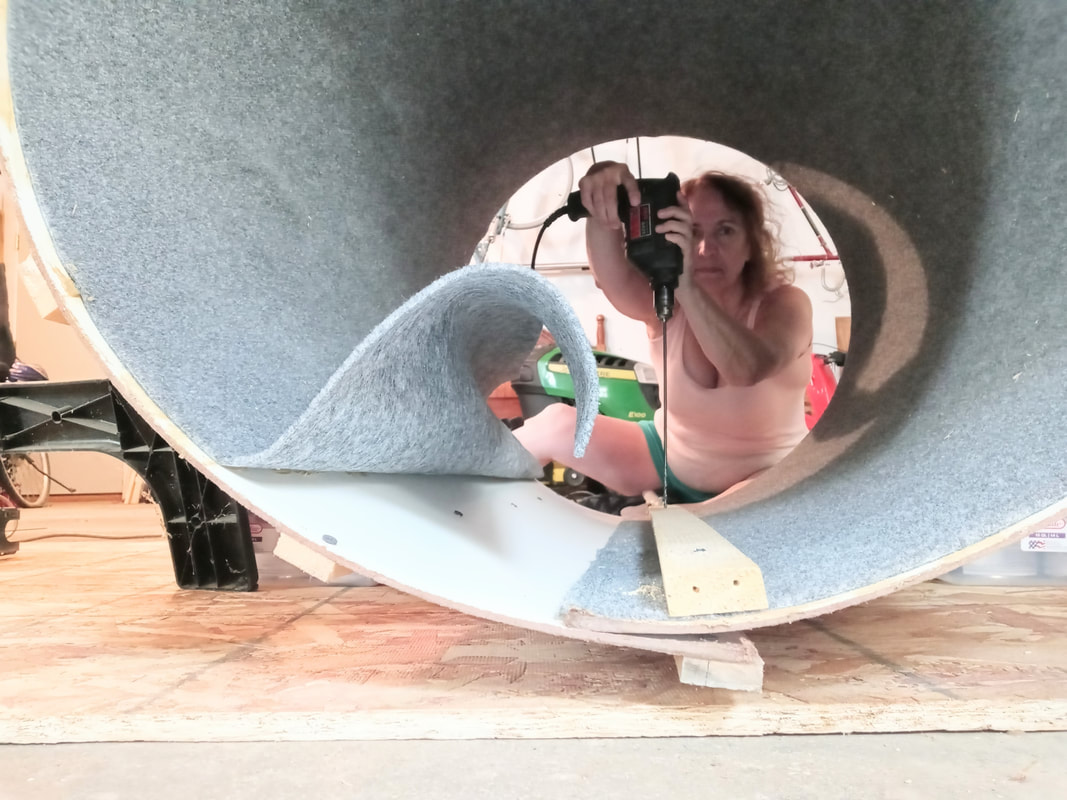
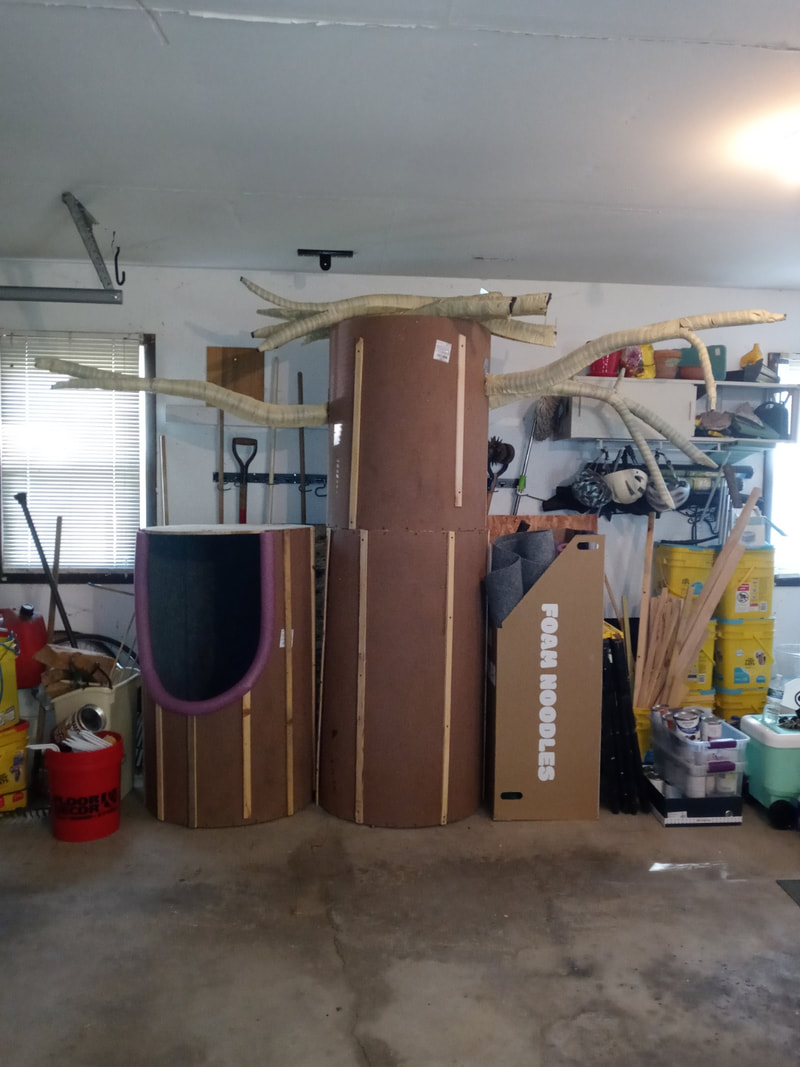
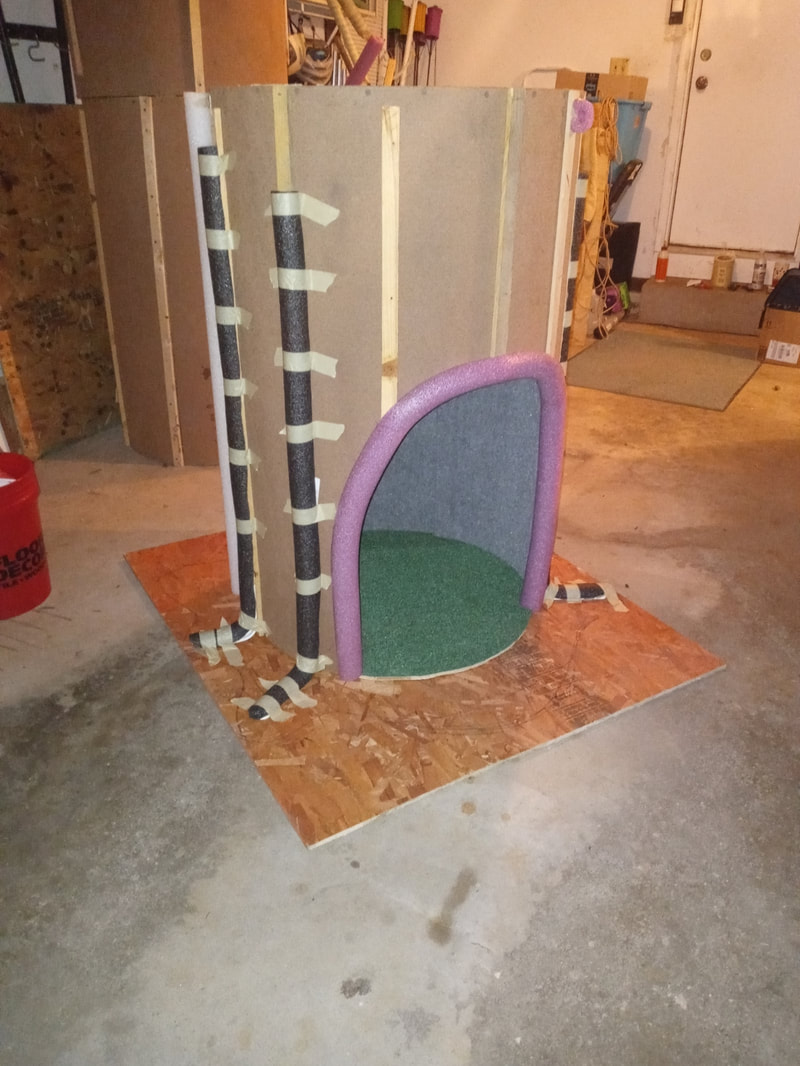
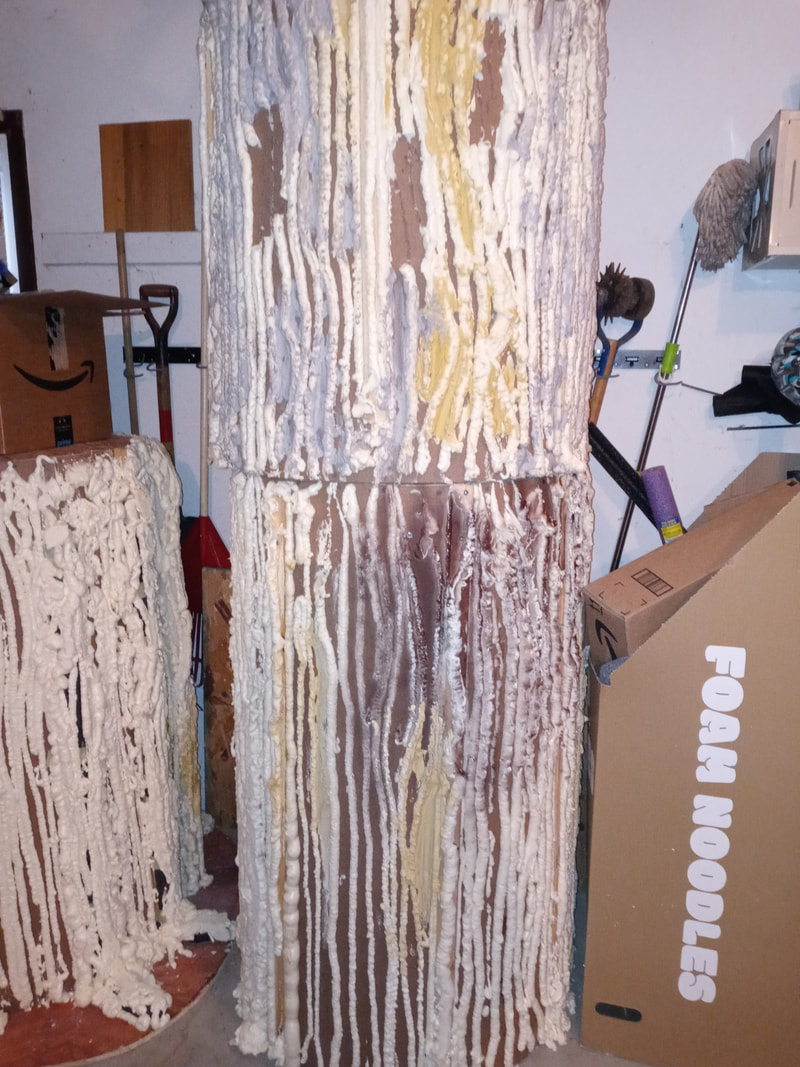
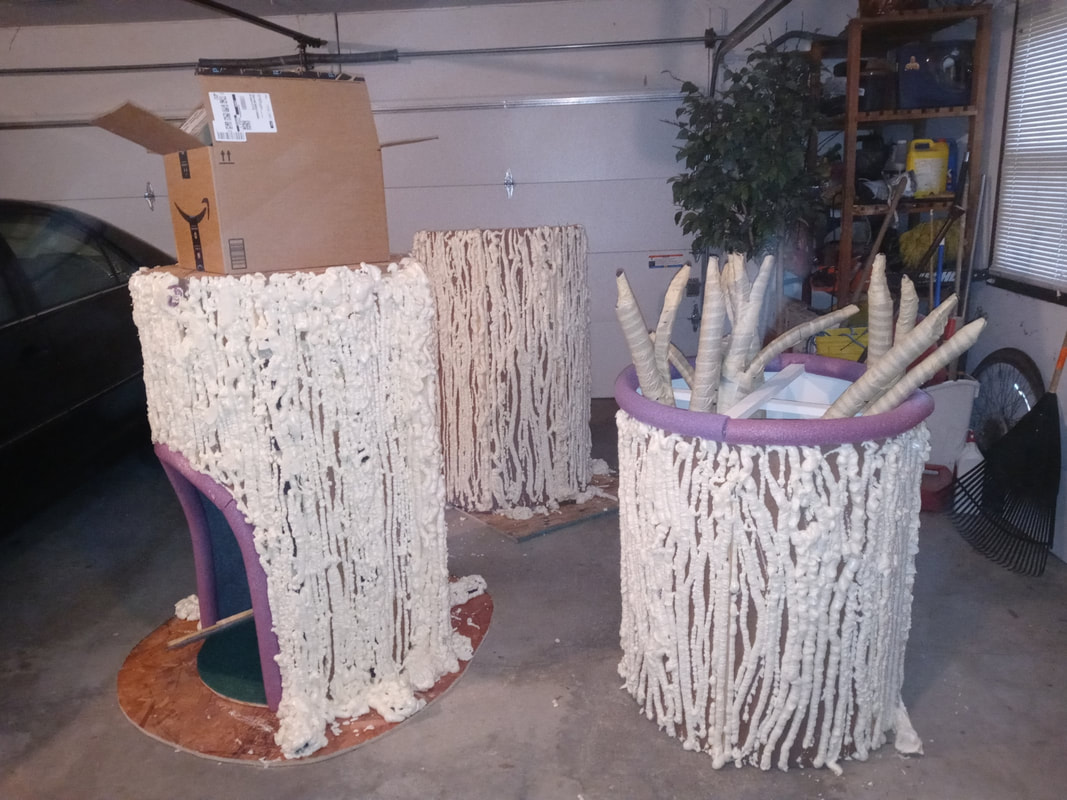
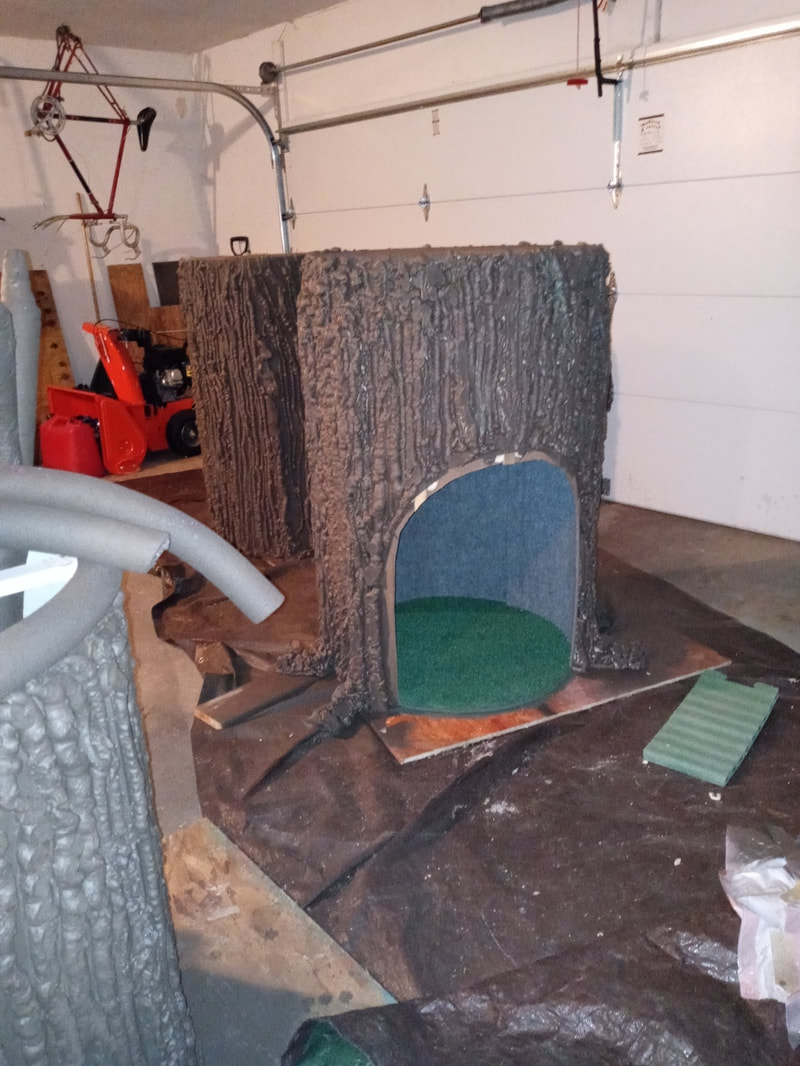
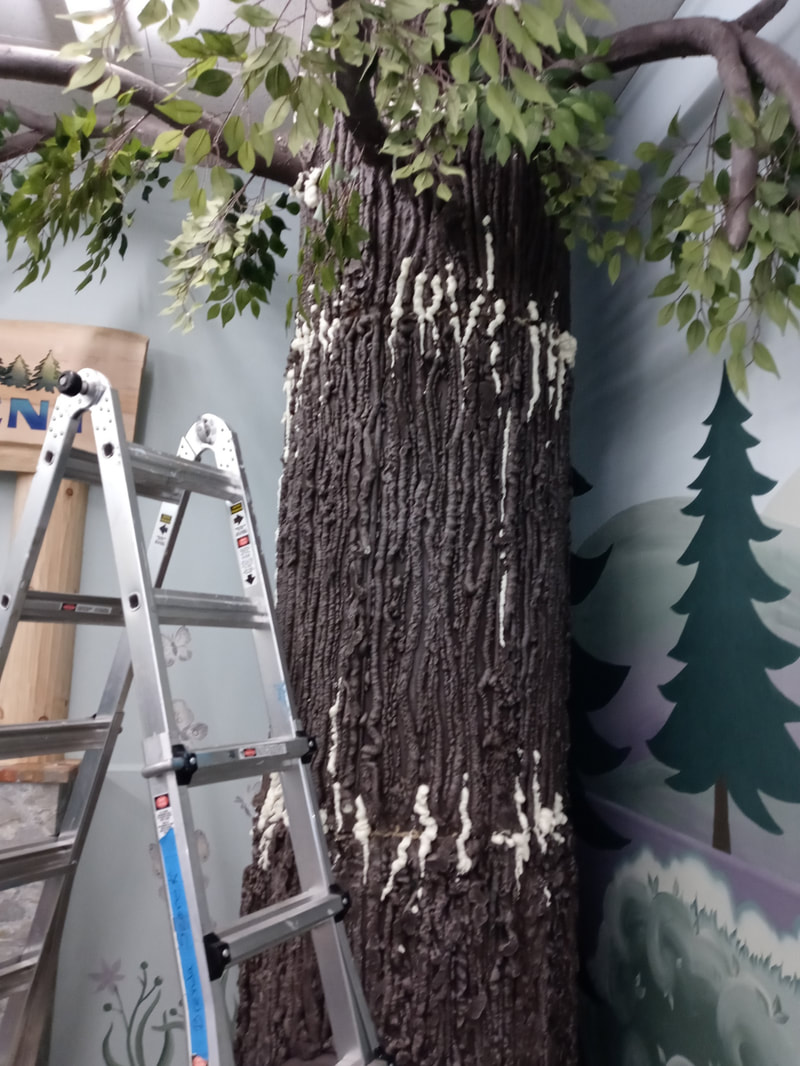
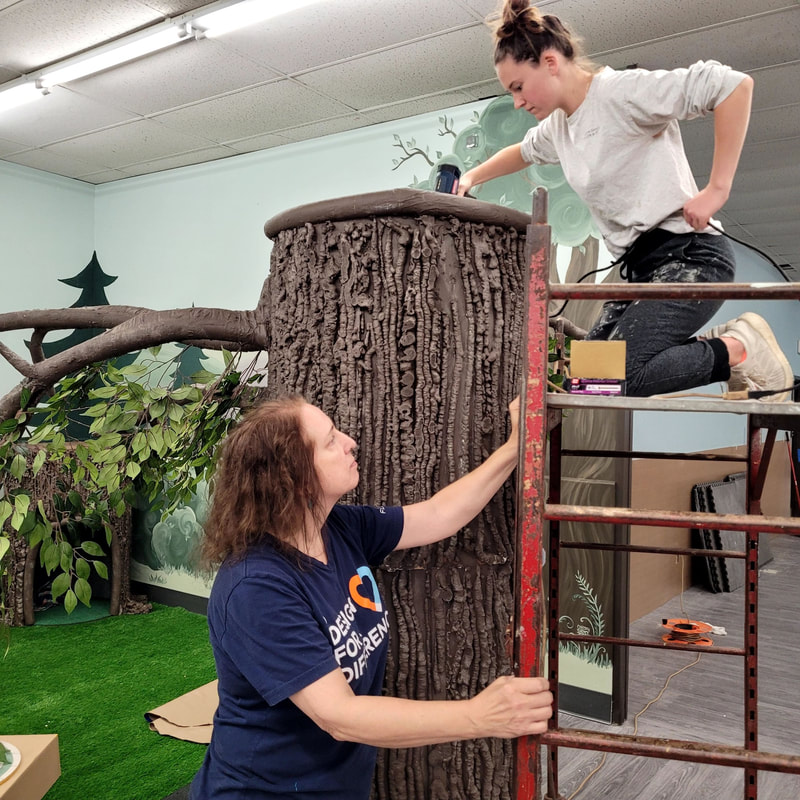
It's been a while since my last blog post. I've been building a tree! Why? What? Are you crazy? ...you ask! This was not just any tree. It was a little hideaway for the students (and staff!) at Common Threads Family Resource Center in Madison, Wisconsin. As a design team member of the Design for a Difference movement in Madison, I chose to spend a lot of my summer and the start of fall bringing nature (an 11 foot tall tree to be exact) to one of the spaces where Common Threads will bring students for sensory exercises and a chance to calm themselves. This is not my first contribution in the creative build department for a non-profit. I built a very large wall clock for the Wil-Mar Neighborhood center in 2019. 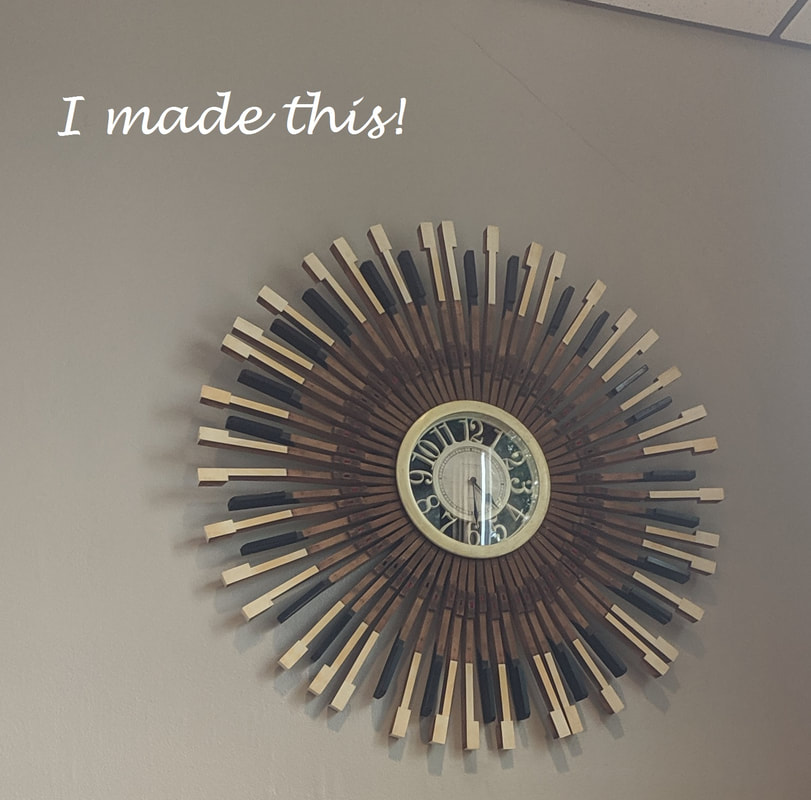 Common Threads is a non-profit organization that brings many services to neuro-diverse individuals. They have a school program and a clinic that serve this special community via staff that are professional and so very kind, loving, and talented. They deserved the great makeover worth approximately $450,000, fully donated by designers, trades, and others providing materials, time, and definitely talent. The space I helped pull together is called the 'alcove', a space off the main cafeteria area which leads to a quiet 'take five' space designed by another team. There were several teams that worked together to provide great spaces for the students and staff. There is a short video of the reveal at this link. For this blog post, I wanted to share my work on the tree itself. A bit of a departure on interior design? Yes. Once I committed to creating a tree, I worried all along whether I'd be able to pull this off on my own. I had offers of help, but bringing others in didn't fit into my schedule so I plodded along and surprised myself in the end. I'm proud of the result and kind of miss my tree now that I've handed it off to Common Threads! Let's start at the beginning. I built branches out of foam core, pool noodles, and a lot of masking tape. The bigger task at hand was the main trunk. How do I build something that I can transport and put together that ends up being 11 feet tall and has a large enough space within to seat one child or adult? I decided three sections will work given that the material I used was 4x8 sheets of hard board formed (not easily, mind you) into cylinders. I had to ensure it was stable enough for students that might be a bit rambunctious before they are able to calm themselves. I added wood slats to the outside, wet the hard board slightly, then used ropes and other supports to get the ends to meet. I added plywood at each end of the two bottom sections and on one end of the shorter top section, plus some wood boards to keep it pulled together. I wasn't convinced that would work well with the strong resistance of the boards and the tiny screw heads, so I added several toggle bolts and wood boards along the seams to ensure more surface was covered to keep the cylinders closed and sturdy. I lined the bottom section with indoor/outdoor carpet generously donated by The Home Depot along with most of the supplies for this tree. This hard board fought me hard! I must have drilled my fingers 3 or 4 times getting the cylinders built. There was a scary time when I cut out the hide-away opening because I wasn't sure if it would all snap apart. It worked well even doing it after I lined the inside! My garage housed the tree and all my supplies for a couple of months as I worked on this. I added the branches temporarily to ensure I could do it and that it looked like a tree. (Bottom section is shown upside down.) Time to start adding shape and texture to the cylinders. Again, pool noodles to the rescue along with a couple of cases of expanding insulation foam! I also used Durham's Rock Hard Putty and leftover ready mixed joint compound to fill in the gaps left by the foam. When I realized I would need buckets and buckets more of this stuff, I just stopped. The majority of texturizing happened on the bottom cylinder. I started painting by hand, then moved to using my paint sprayer (duh! should have started with that!). I finished up with more hand painting as there were still lots of groves to cover. Finally, after finalizing how this would all get put together, I realized that there was one doorway I hadn't measured to get this into Common Threads! I held off tears until I could measure. I originally had an extra base of plywood that the tree 'roots' expanded onto, but thankfully all I had to do was remove that to get it in the door. This could have been a terrible mistake on my part, but it worked out fine. 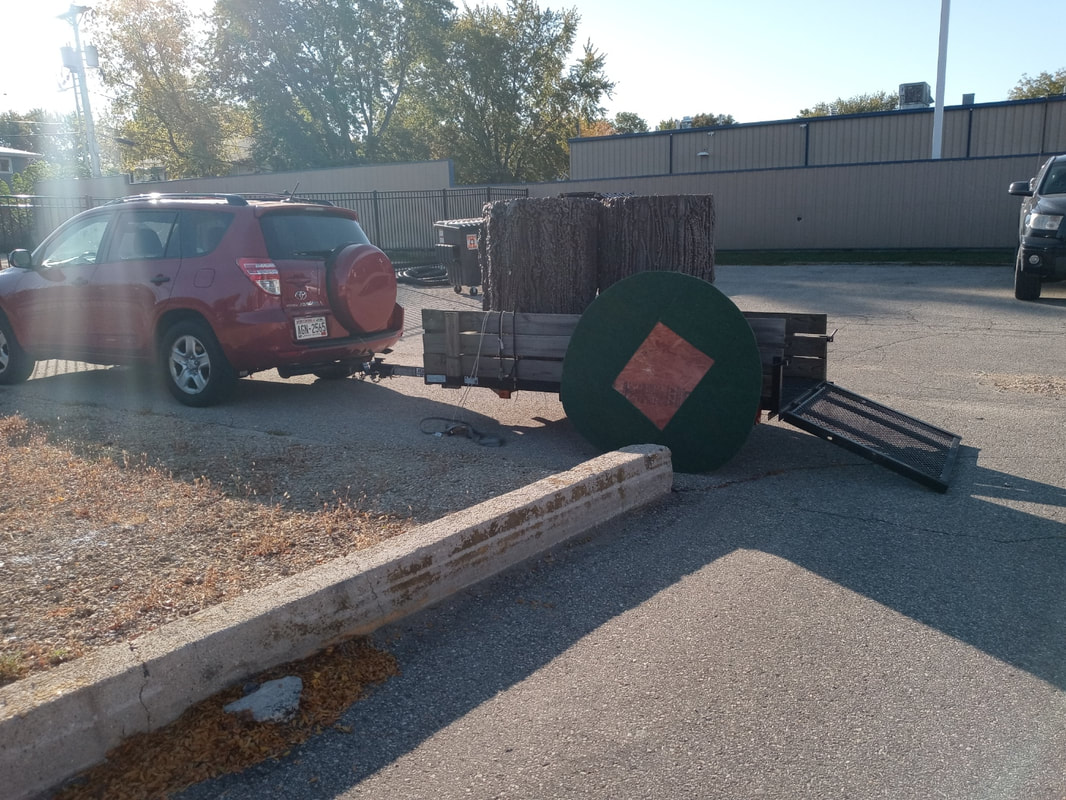 Onsite after a test measure, I added the branches before putting each cylinder in place again. Then added more putty and foam to texturize the seams and finally lots of paint touch ups. I had the help of many to get this secure and in place. It was hard work, but well worth it. Adults and kids tried out the hide-away space and we all agree it is comfortable as well as enchanting. 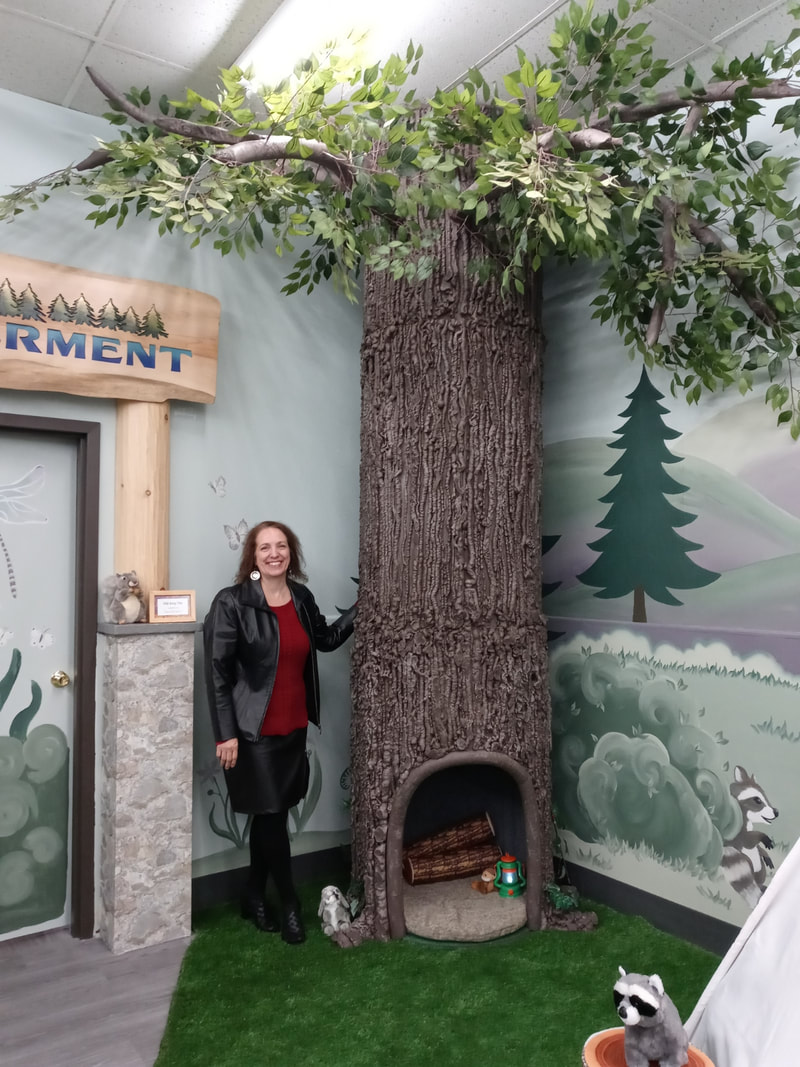
0 Comments
Your comment will be posted after it is approved.
Leave a Reply. |

Photo by Miriam Bulcher Photography
Meet Your DesignerI, Brenda Szarek, am the founder of Autumn Light Interiors. I have immersed myself in home design and problem solving for years and have creative solutions for all kinds of interior design dilemmas. I hope you enjoy my tips, tricks, trends, and inspiration to help you find your way to a well-designed, comfortable, and functional home you can be excited to live in and welcome others within. Archives
July 2024
|


 RSS Feed
